ADSBB201 Fingerbot Switch User Manual
User Manual

English

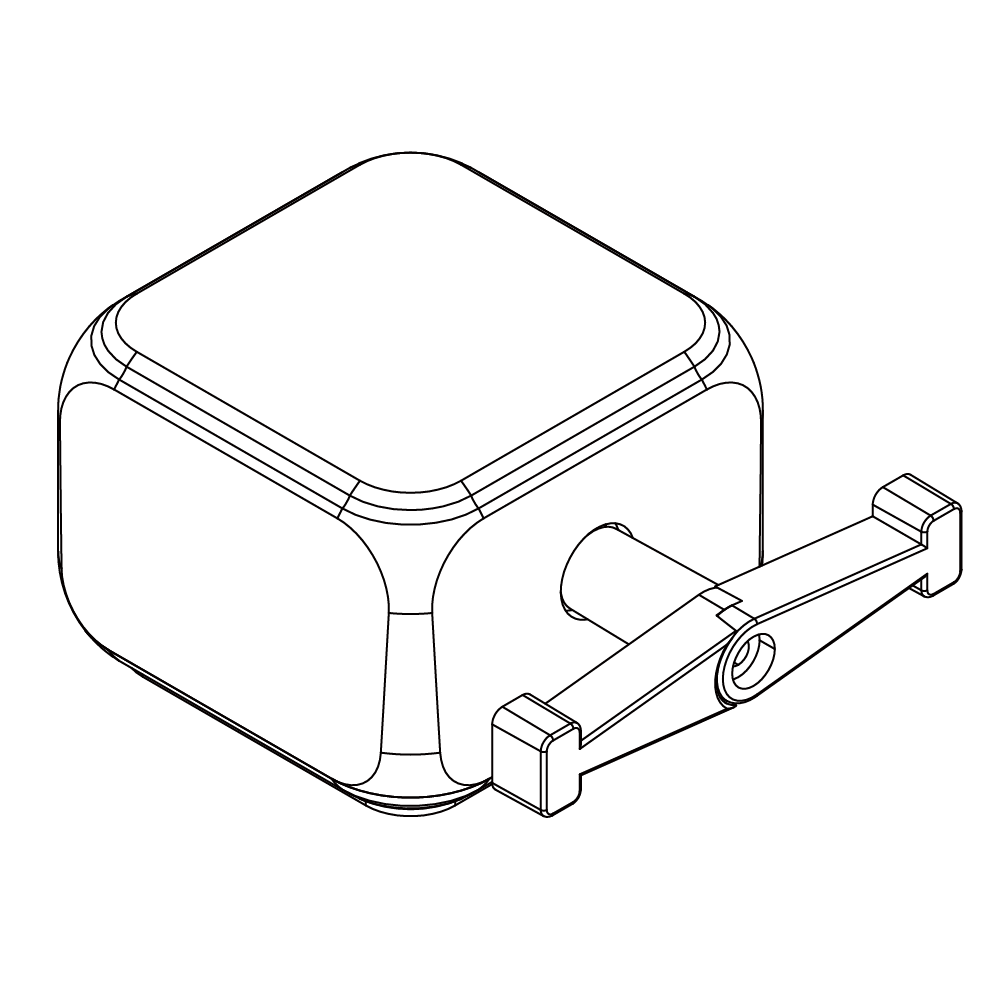
The ADSBB201 Fingerbot Switch is a BLE switch actuator controlled through the Smart Life App. It can be installed near common physical buttons or rocker switches and uses a mechanical arm to simulate a finger press, helping users turn lights on or off, press device buttons, trigger scheduled actions, and complete other everyday operations.
This product is suitable for ordinary household appliance buttons, wall switches, air purifiers, coffee machines, and other non-safety-critical scenarios. Do not use it with emergency stop buttons, medical equipment, gas appliances, fire safety equipment, access control systems, elevators, or any other control scenario involving personal safety or property safety.
Fingerbot Switch main unit × 1 : ADSBB201
Double-sided adhesive pad × 2 : The previous manual confirms adhesive pads are included, but the quantity requires packaging confirmation
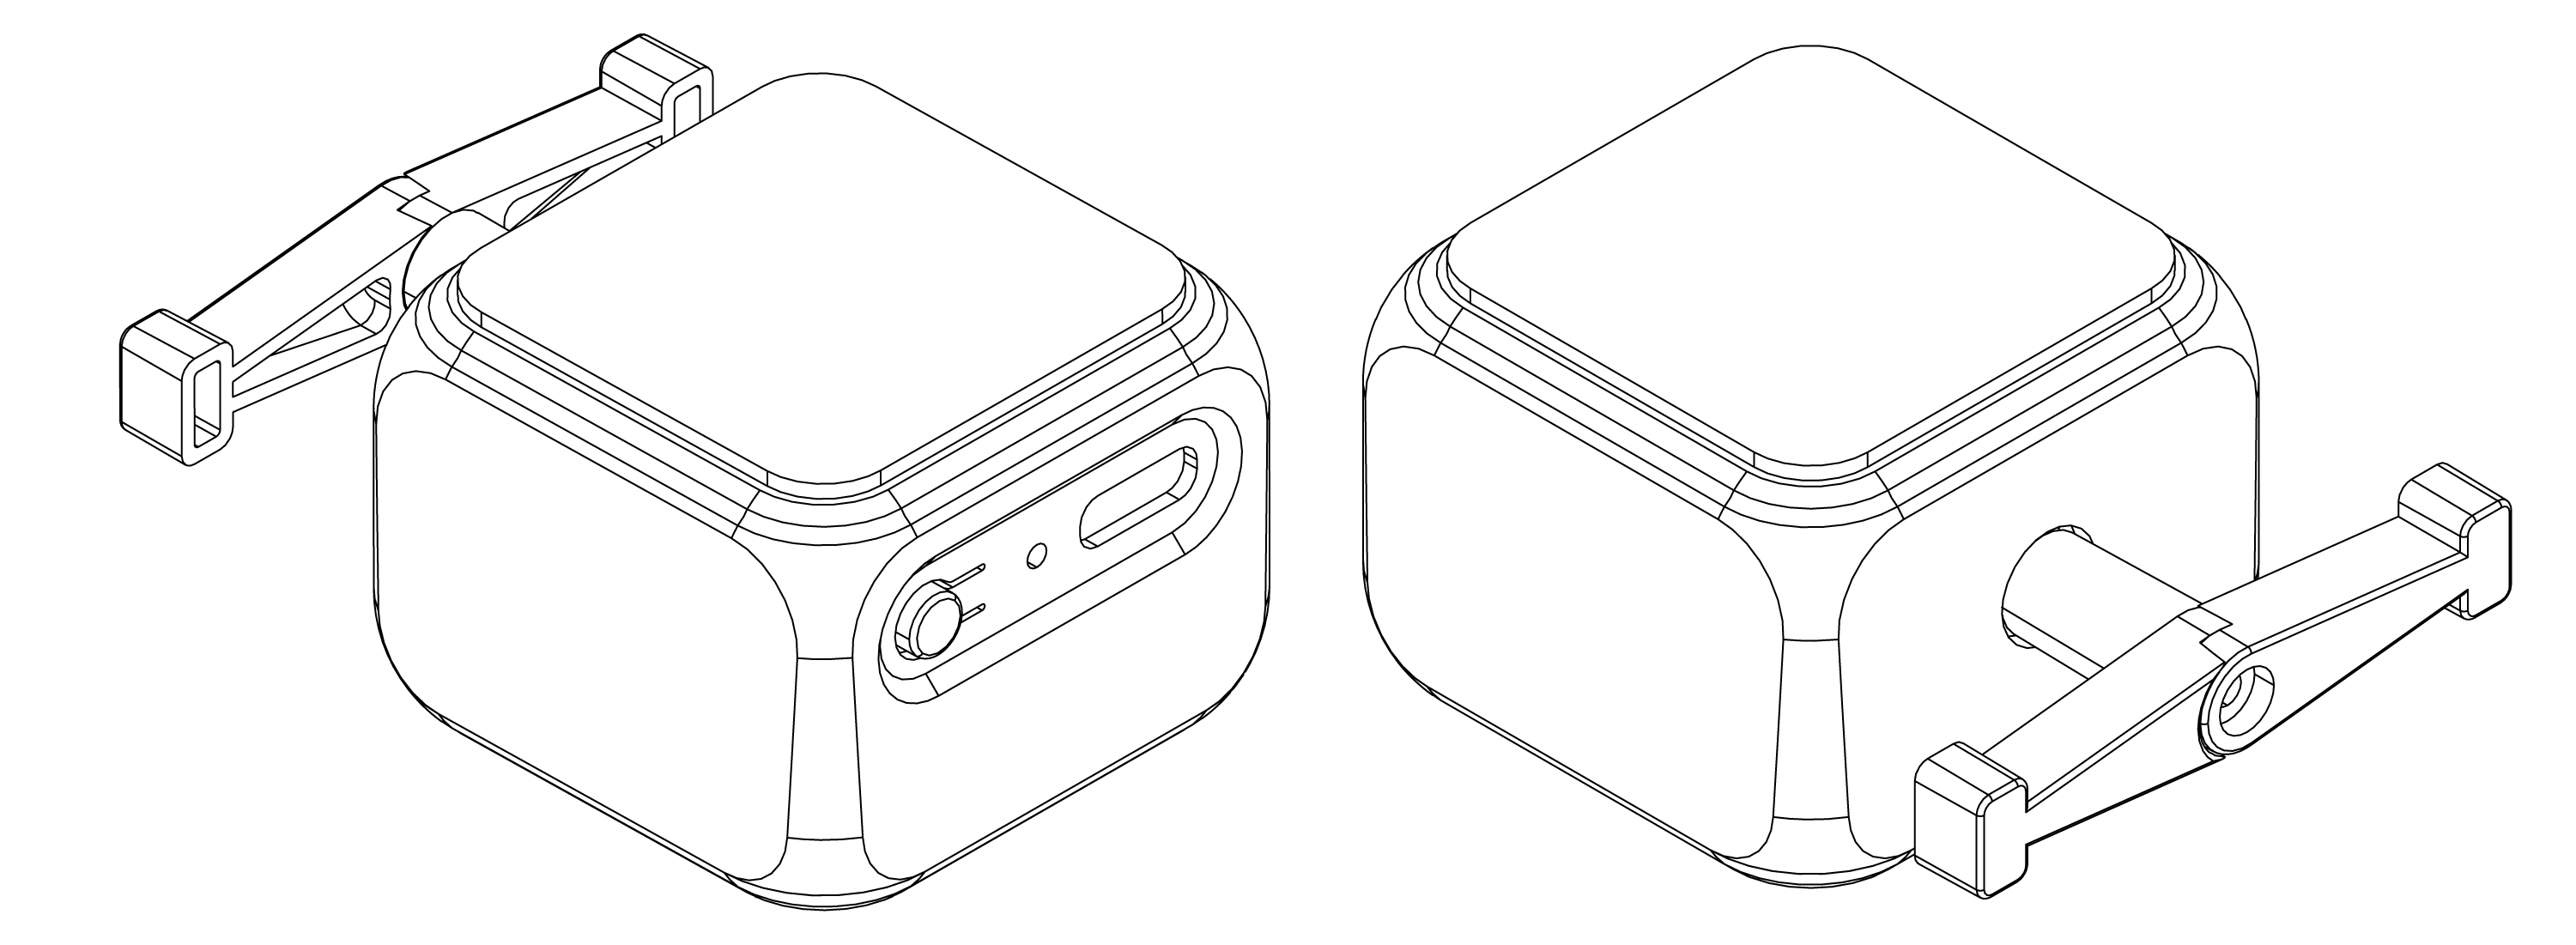
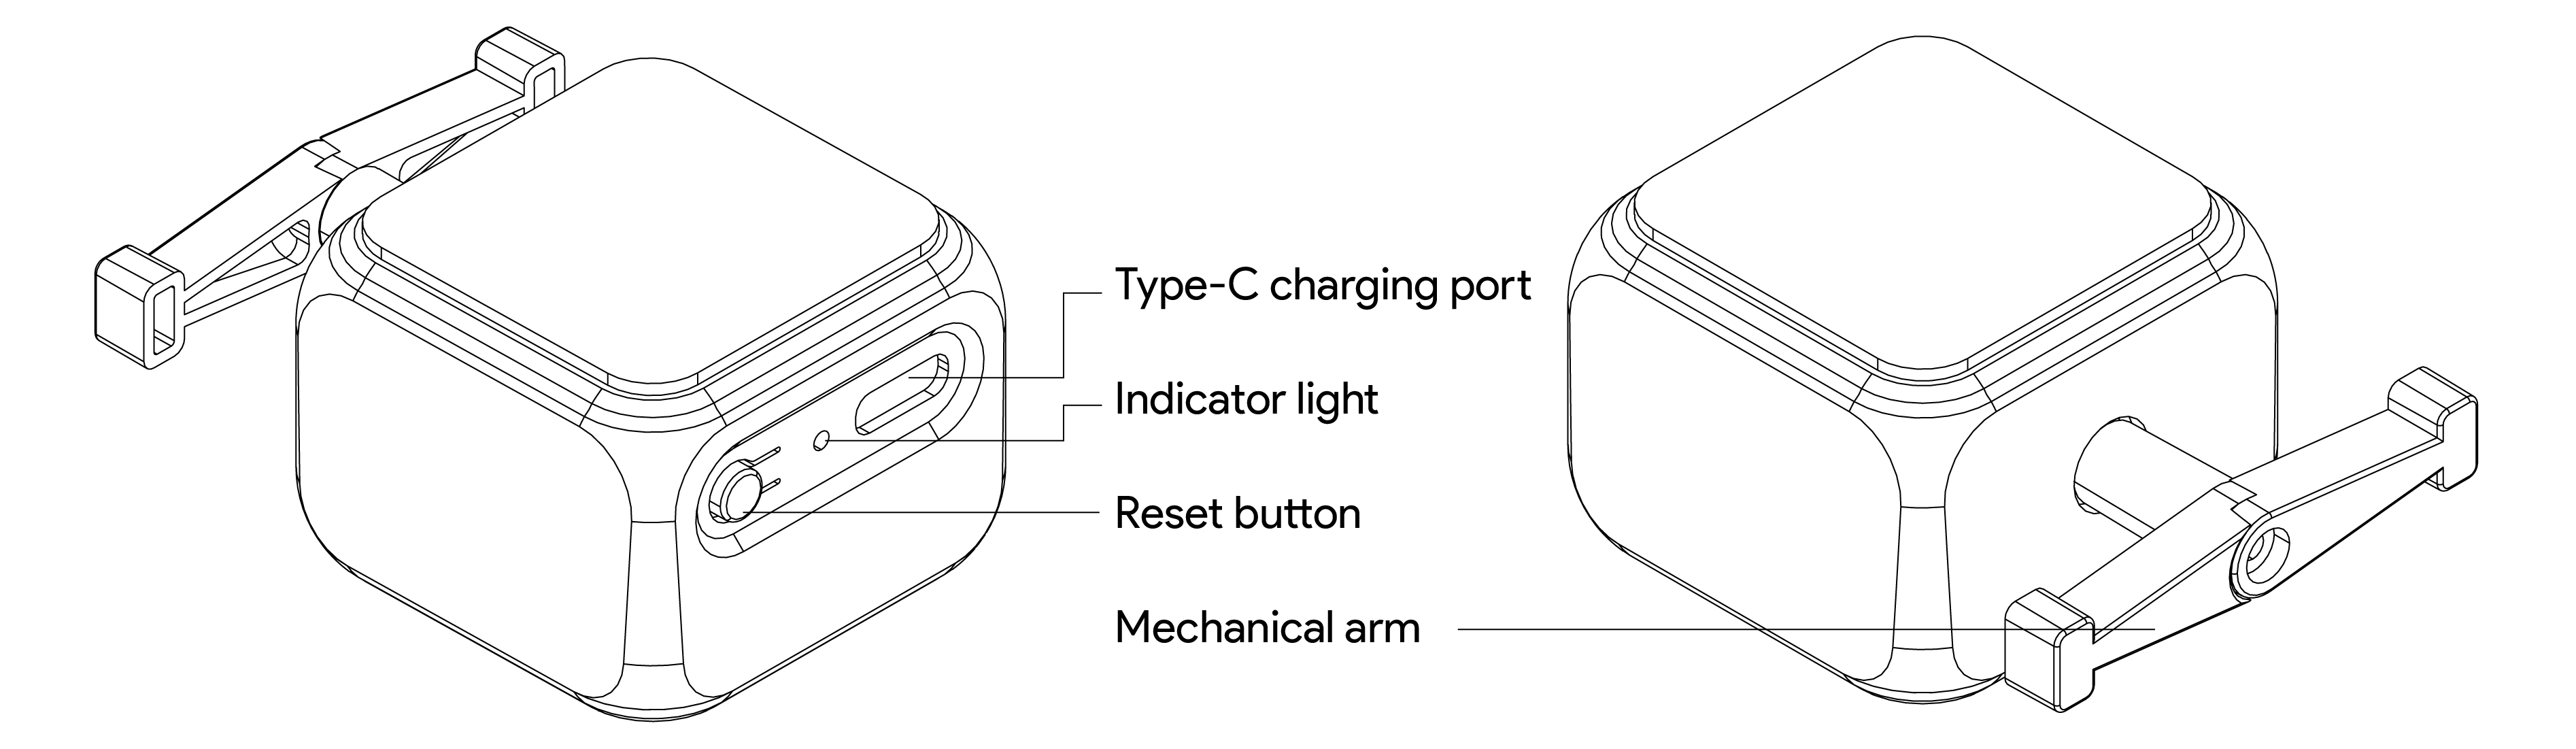
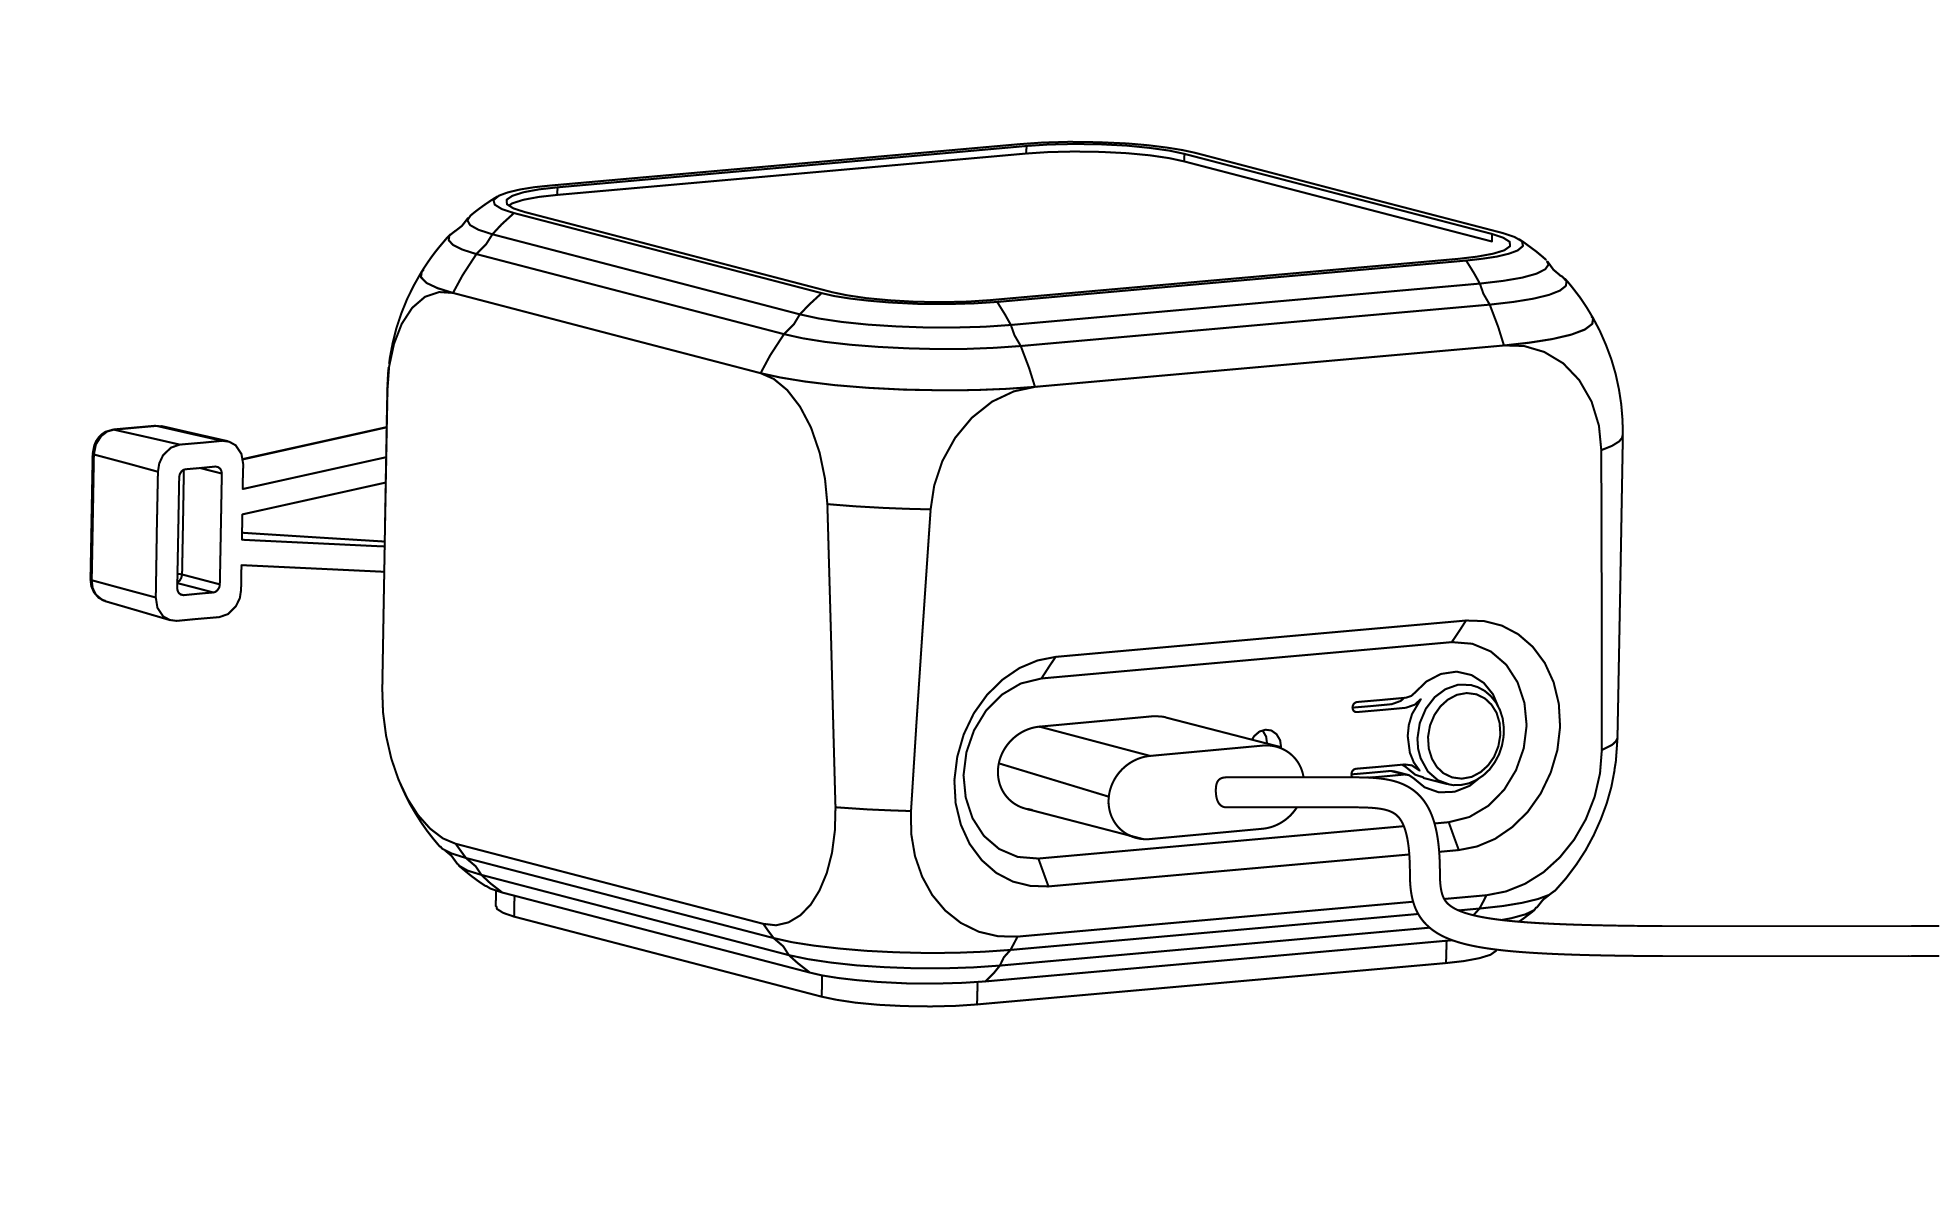
Mechanical arm: Presses the target button or switch
Reset / operation button: Short press to trigger an action; long press to enter pairing mode and restore factory settings
Indicator light: Shows pairing, reset, charging, and other device states
Type-C charging port: Charges the built-in rechargeable lithium battery
Bottom adhesive area: Used to secure the main unit
1. Open the Smart Life App.
2. Log in or create an account.
3. Add the device in the App and follow the on-screen instructions to complete pairing.
You can also search for “Smart Life” in your mobile app store and install the App. The App will guide you to enable the required permissions during pairing. Follow the prompts shown in the App.


Reset the device when pairing it with a new account or when the device cannot be added normally.
1. Press and hold the reset / operation button for about 5 seconds.
2. Release the button when the blue light starts flashing.
3. Open the Smart Life App and follow the on-screen instructions to add the device.
Resetting clears the previous pairing relationship and some local settings. After adding the device again, recalibrate the mechanical arm action according to the actual installation position.
Before installation, confirm that the target button can be pressed stably by the mechanical arm and that the extra pressing action will not damage the device or create a safety risk.
Clean the target switch panel and the bottom surface of the Fingerbot Switch. Make sure the surfaces are dry and free of dust and oil.
Peel off the protective film from the double-sided adhesive pad, then fix the device near the target panel.
Complete device pairing in the Smart Life App.
Open the device control panel and adjust the mechanical arm action parameters so that the arm can press the target button reliably.
After installation, let the device sit for 24 hours to improve adhesive bonding.
Do not install the product in humid, high-temperature, outdoor, splash-prone, underwater, or easily detachable locations.
After entering the device panel, tap the Fingerbot Switch action button. When the signal is good, the device usually triggers the action within 2 seconds.
To ensure normal operation and extend the mechanical life of the device, wait at least 10 seconds after each action before triggering the next one.
Click mode: Performs one pressing action, suitable for ordinary button triggering
Switch mode: Toggles between on / off states, suitable for wall switches and similar scenarios
Before using the device, adjust the mechanical arm operation parameters in the Smart Life App device control panel, such as mode selection, action range, hold time, reverse switch, and related settings.
The firmware default action range is 60.
The firmware supports 4 recurring schedules and 1 countdown function.
This product has a built-in rechargeable lithium battery and uses a Type-C port for charging. A 5V/1A power adapter and a Type-C charging cable are recommended.
Charging: Blue light breathes
Fully charged: Blue light stays on
Not charging: The App can report a not-charging status; actual lighting effect depends on the physical device
Press and hold the button for about 5 seconds: Restores factory settings and enters pairing broadcast; the blue light flashes
Short press the button: Triggers one action
Charging: Blue light breathes
Fully charged: Blue light stays on
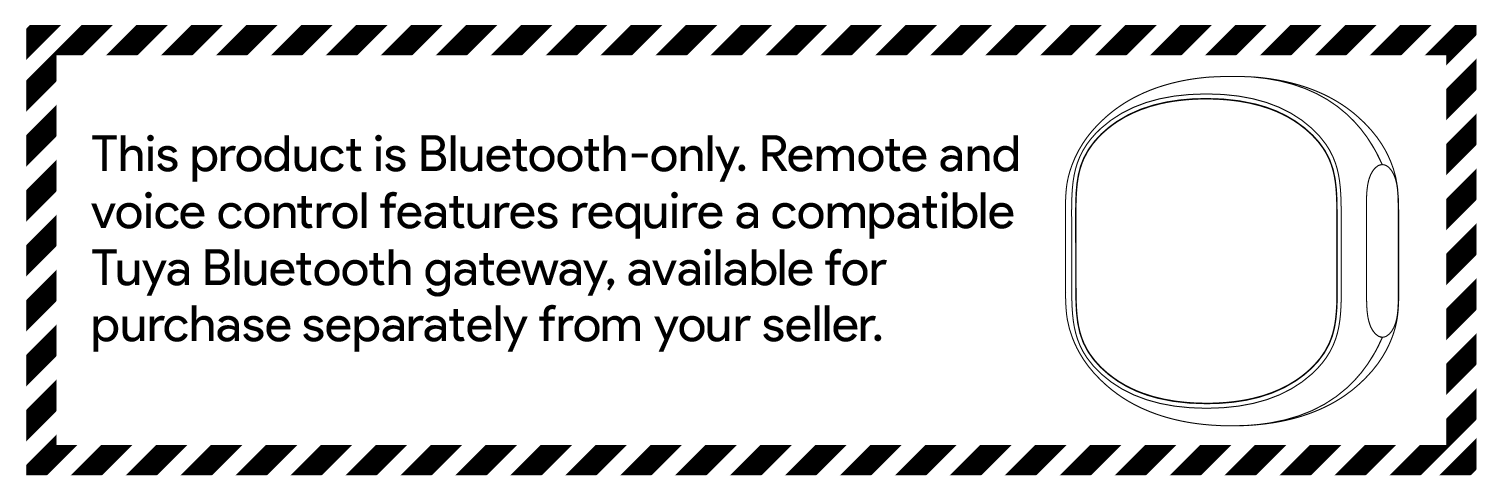
The current ADSBB201 firmware is for a BLE device, which is controlled locally through the Smart Life App by default.
Remote control may require a Tuya Bluetooth gateway. Whether this is supported, compatible gateway models, and functional limitations must be confirmed through the Tuya product configuration or marketing materials.
Product Name: Fingerbot Switch
Product Model: ADSBB201
Dimensions: 28 × 36 × 52 mm
Weight: 38 g
Wireless Protocol: BLE 5.2
App: Smart Life App
Charging Port: Type-C
Recommended Input: 5V/1A
Battery Type: Rechargeable lithium battery
Battery Capacity: 500 mAh
Operating Temperature: 0°C to 45°C
Do not use this product in the following scenarios:
1. Safety-critical equipment such as medical devices, life-support equipment, fire safety equipment, gas equipment, and emergency stop buttons.
2. Elevators, access control systems, vehicles, industrial control equipment, or other scenarios that may affect personal or property safety.
3. Humid, high-temperature, outdoor, splash-prone, underwater, or strong-vibration environments.
4. Locations where children can easily remove the device, swallow accessories, or pinch their fingers.
5. Locations where the button resistance is too high, the surface is uneven, or the adhesive cannot attach securely.
Before use, confirm that the target device allows control through external mechanical pressing. The user assumes the corresponding risks for losses caused by improper usage scenarios, insecure installation, unreasonable parameter settings, or use in safety-critical scenarios.
This product is not waterproof. Do not install it on underwater equipment, in outdoor splash-prone locations, or in humid environments.
This product has a built-in rechargeable lithium battery. Do not disassemble, squeeze, puncture, burn the product, or expose it to high-temperature environments.
Do not obstruct the mechanical arm while the device is operating. Blocking the mechanical arm may cause the arm to detach, damage the motor, or trigger the target device incorrectly.
Do not allow children to install, remove, or operate this product alone. Adhesive pads, accessories, and small parts may pose an ingestion risk, and moving parts may cause pinching.
Do not use a damaged power adapter or charging cable. If you notice odor, overheating, deformation, or abnormal indicator behavior during charging, stop using the product immediately and contact after-sales support.
1. Stop device actions before cleaning and confirm in the App that the device is in a safe state.
2. Wipe the device surface with a dry soft cloth.
3. Do not use alcohol, corrosive cleaners, or large amounts of liquid to clean the device.
4. The adhesive may lose strength after removal. Replace it with a new adhesive pad before reinstalling.
5. If the device will not be used for a long time, charge it to a moderate battery level before storage and check the battery level periodically.
The App cannot add the device —— The device is not in pairing mode: Press and hold the button for about 5 seconds until the blue light flashes, then add it again
The action is not triggered —— BLE signal is weak or the device is busy: Move closer to the device and try again. Wait at least 10 seconds between actions
The button is not pressed fully —— Installation position or mechanical arm parameters are unsuitable: Readjust the installation position and calibrate the action parameters in the App
Adhesive pad falls off —— The surface has dust or oil, or the device was not left to bond long enough: Clean the surface, replace the adhesive pad, and let it sit for 24 hours after installation
No response while charging —— Charging cable or adapter is abnormal: Replace with a 5V/1A adapter and Type-C charging cable, then try again
Indicator light is abnormal —— Device status is unclear or battery is low: Try charging and then resetting the device; if the issue remains, contact after-sales support